
Our first project was the woodblock friend, for which I excellently recreated a beautiful image of the perfect friend.

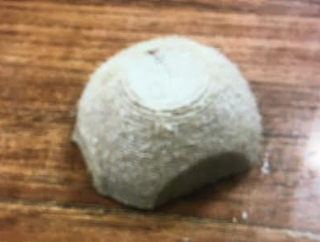
The second project was a wood expressionless face. I made a pear with a "face" that looks perfect
Student Choice Project 1
Pre-build
Images on bottom
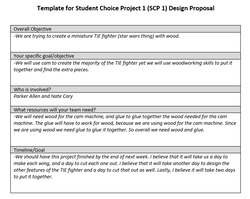
For this project we chose to make a TIE fighter, which is a star wars plane. In order to make this we needed to first print out all of the parts. We used fusion 360 in order to create the wings and the cockpit. After we finished we used a router to cut out the parts from wood. We printed the wings and the cockpit and then sanded the edges to make it smooth. After we needed connecter pieces, so we took two small rectangular pieces of wood and used glue to connect them to the wings and the cockpit.
Research and Planning
Prior to this project we worked on woodworking, this allowed us to have a better knowledge of materials and better idea of how to put them together.
For this project we had 3 weeks to finish. We used the first week to program the pieces, the second to print the pieces out, and the third to put it together.
The time constraint forced us to stay on pace and to stick to a schedule.
My role in the group was mainly putting the final object together. I sanded all the pieces, used the saw, and glued them all together. My partner (Parker Allen) did the majority of the fusion and used the router.
Our Design Proposal
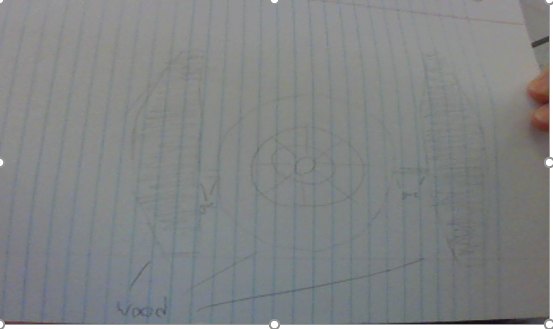
Our Sketch
Building Process
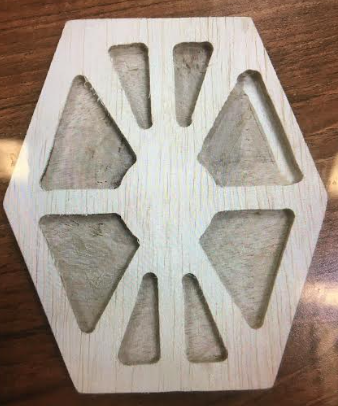
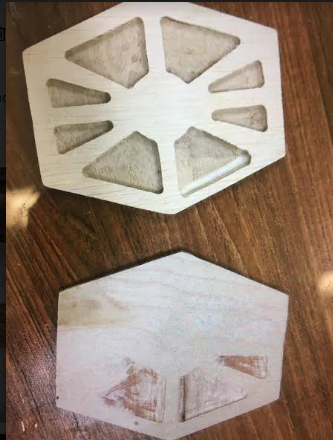
These are the wings of the TIE fighter after we first cut them out.
This is the cockpit of the plane after it was cut.
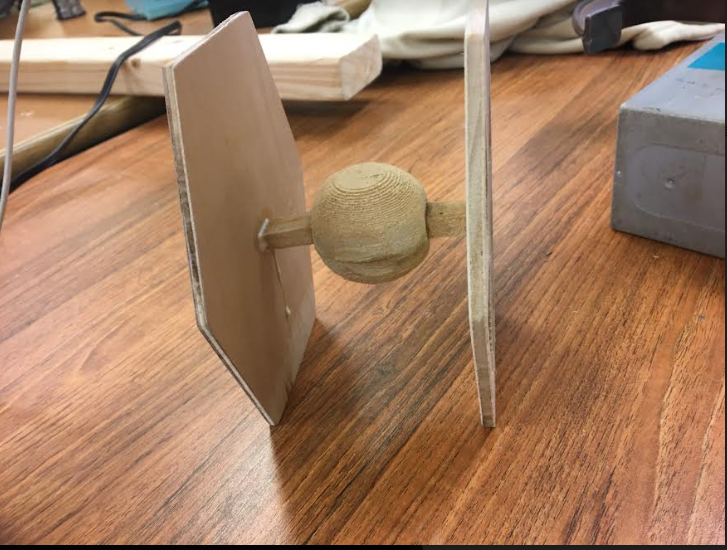
This is our plane being put together.
This is the final plane being held together while the glue dries.
This is our final product.
Testing
This project was evaluated based off of our initial expectations. We believe that it turned out well, our one misstep was with printing the first wing. When we printed the first wing the router was not set to the right depth, therefore the indentations on this wing were made to a very minimal effect.
- SCP2 documentation
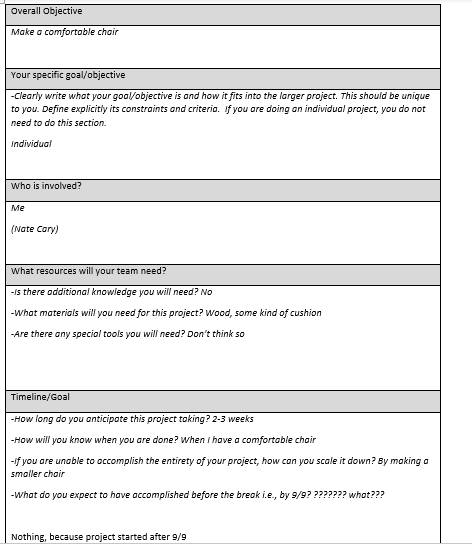
goal: The goal of this project is to make something of my choice. I chose to make as comfortable a chair as possible. I had three weeks to create and document it
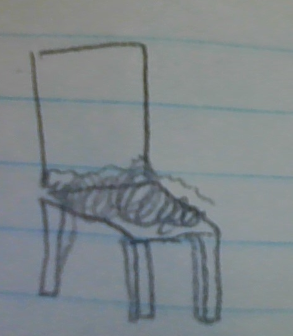
preliminary sketch:
preliminary sketch:
background where I got the idea for: I have seen many comfortable furnishings created by other students in the classroom and wanted to make my own
prior research and actions that helped: The woodworking project helped me learn to to use power tools well, which helped me create the chair
Constraints: I was not held back by any constraints
timeline: over the first one and a half weeks, I studied for a math midterm and test, an APUSH test, and finished my lit essay. for the next week i created the chair. over the last half week i finished the documentation
Constraints: I was not held back by any constraints
timeline: over the first one and a half weeks, I studied for a math midterm and test, an APUSH test, and finished my lit essay. for the next week i created the chair. over the last half week i finished the documentation
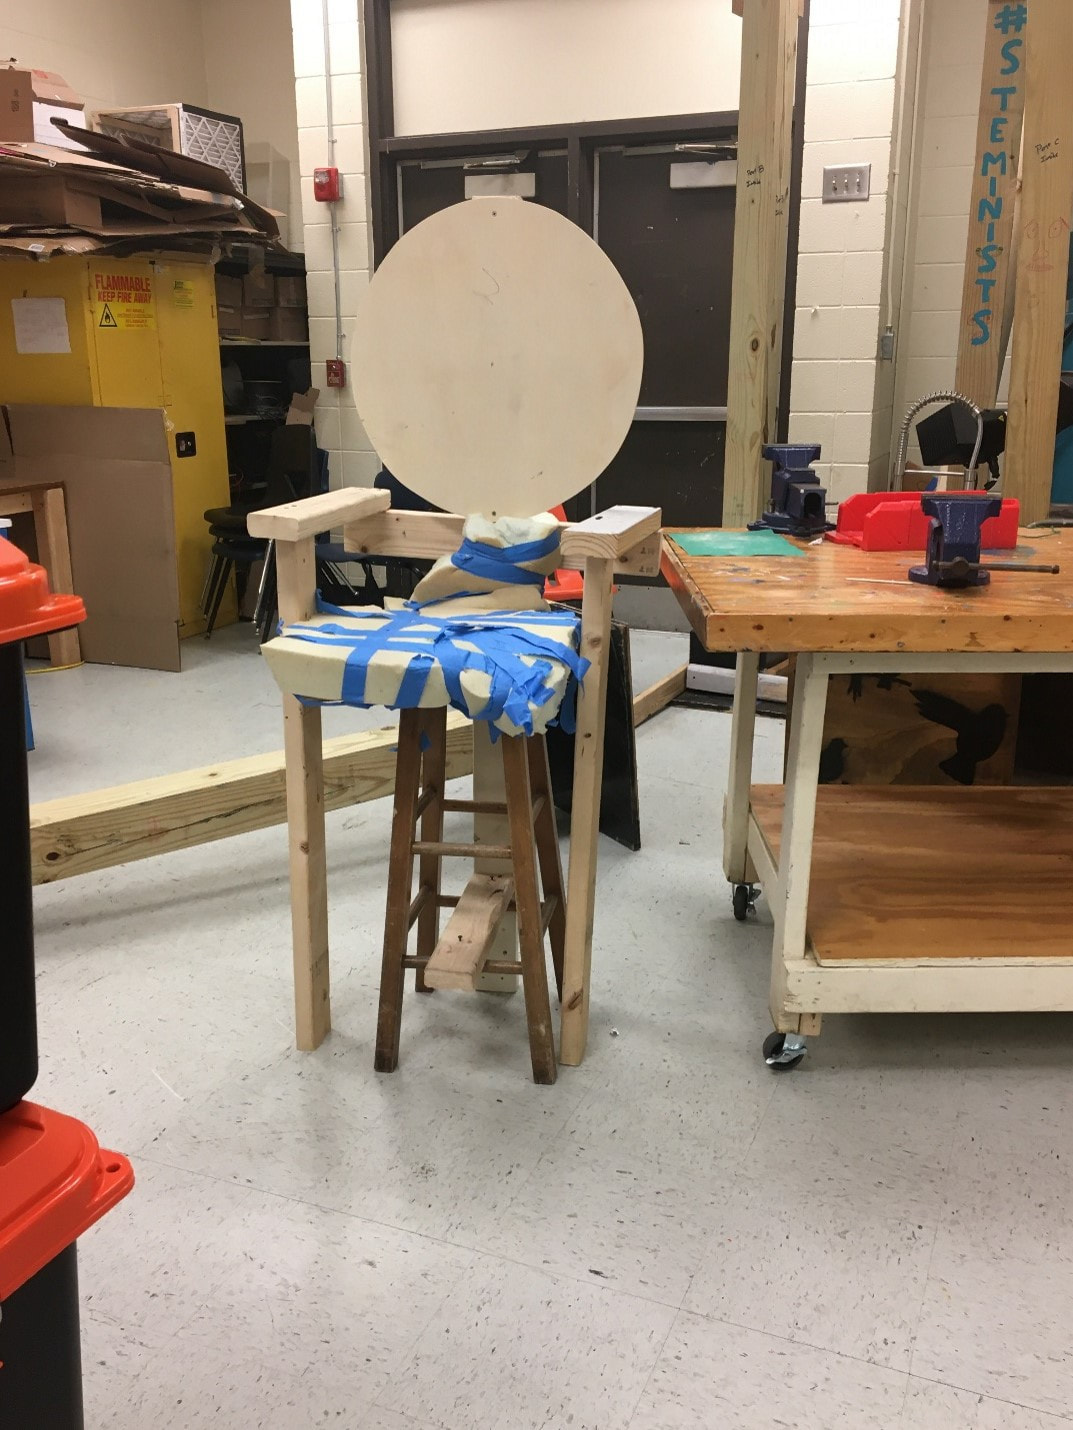
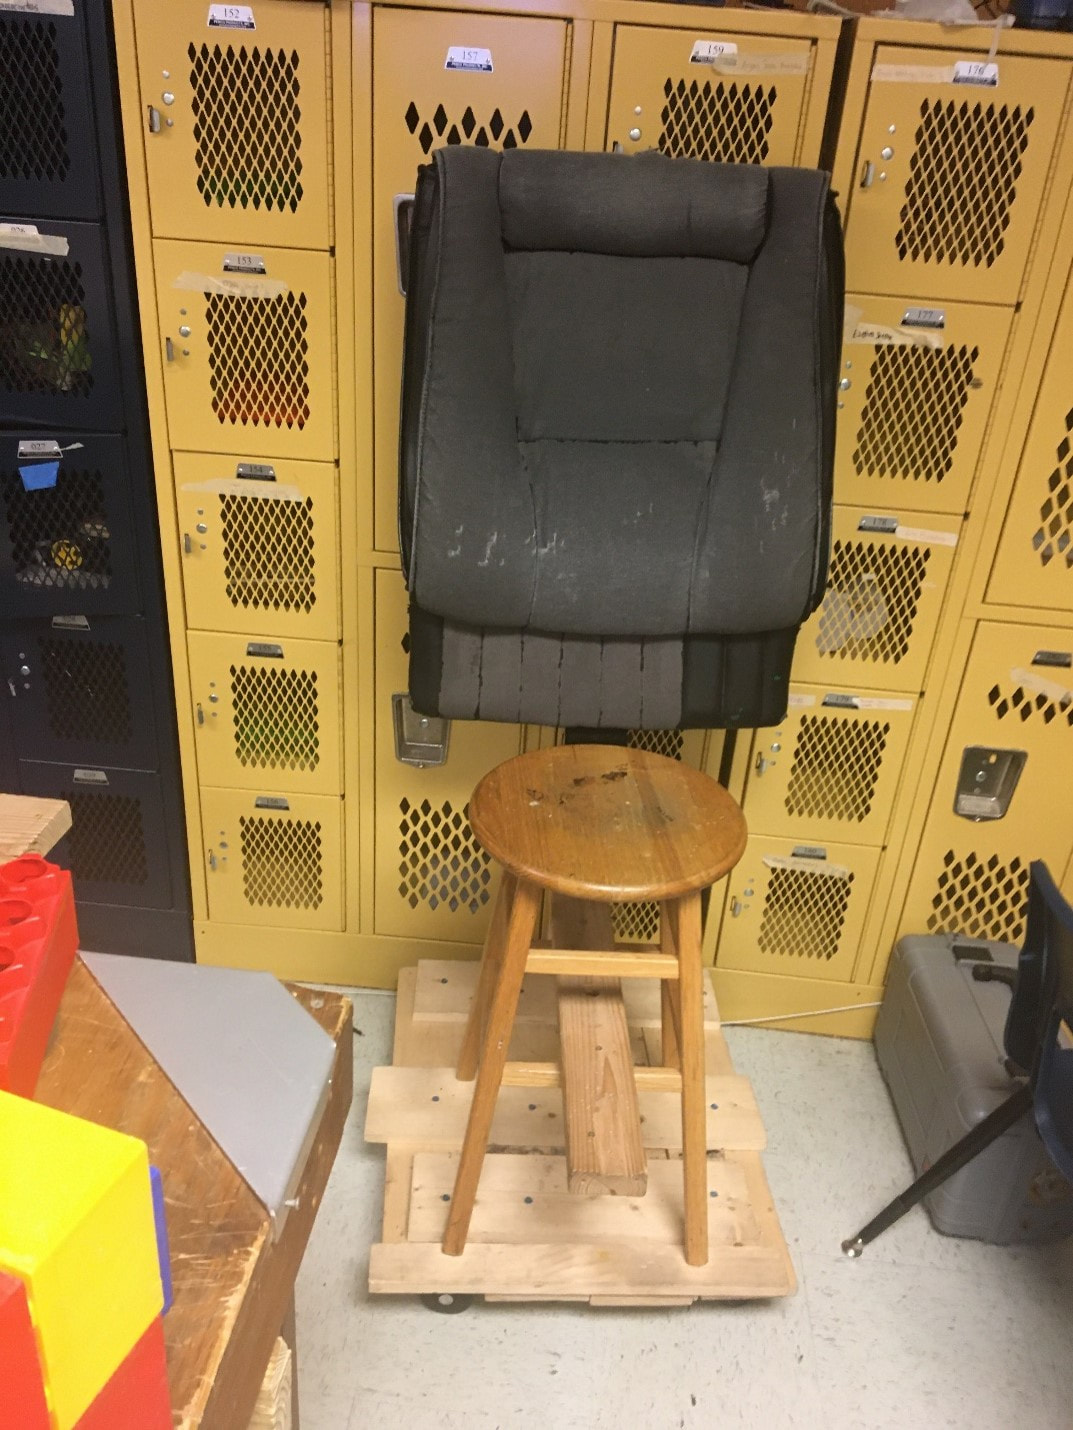
What was done to complete the project: I cushioned, backrested, and armrested a stool to make as comfortable chair as possible.
Challenges/setbacks: the armrests did not stay up originally, so I had to support them from underneath
How was the project tested/evaluated: Many people sat in it. The chair withstood the sits and also received many complements from the sitters
Fitting the goal: my goal was to make a comfortable chair, which my chair turned out to be
what went well: the cushion and backrest were extremely well to put on, and the chair was more comfortable than I had imagined it being
Microcontroller mini project
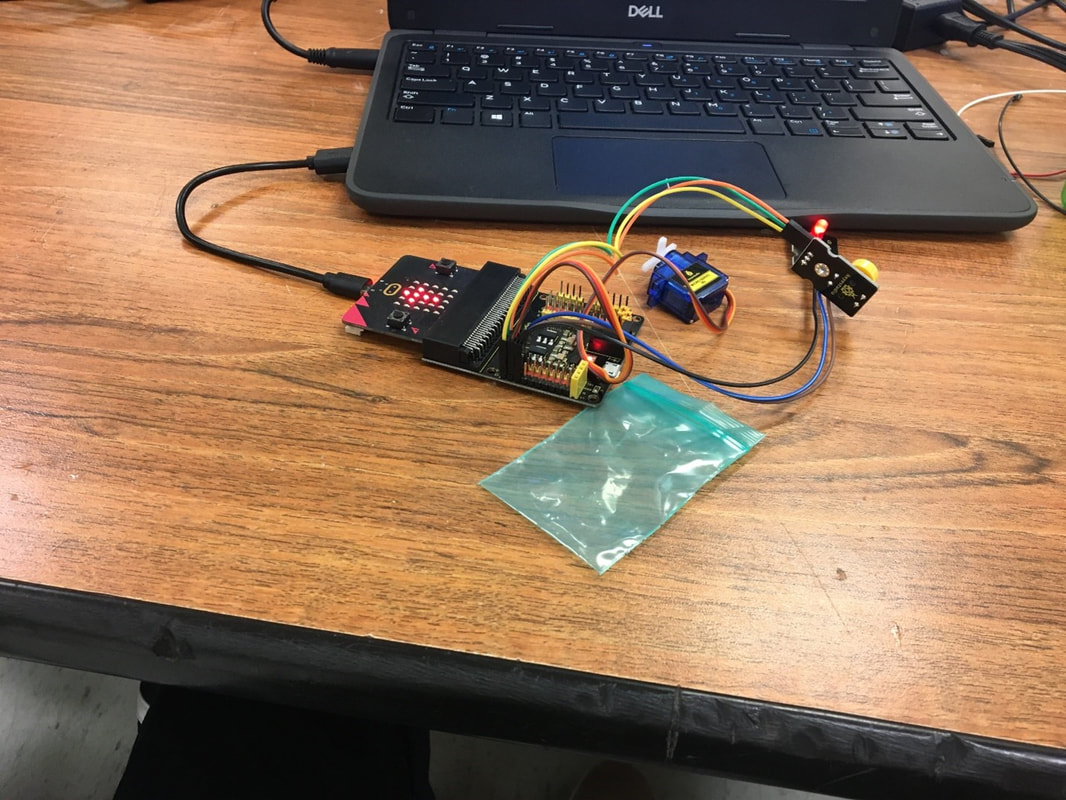
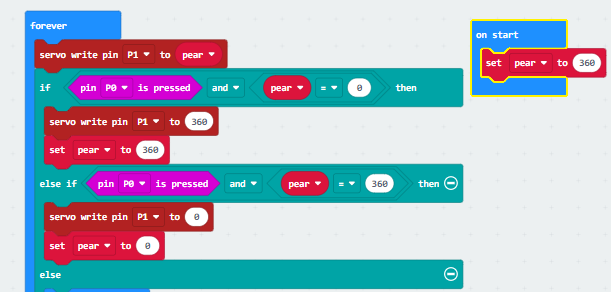
What the project does:
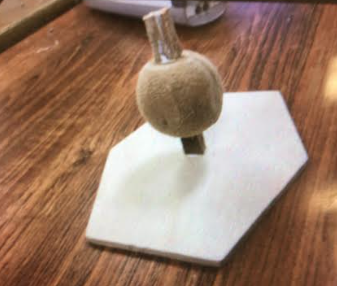
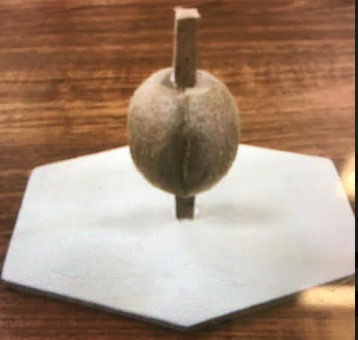
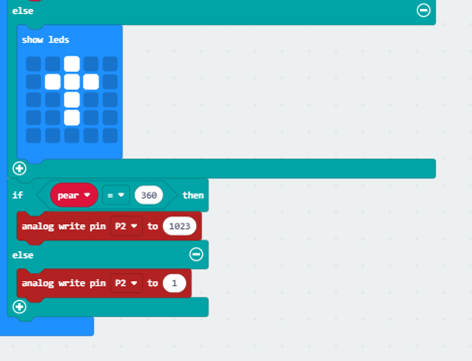
When the code starts, the motor is turned to the 360 degree position, so that the code will be able to function. The code then sets a variable "pear" to the degree position, so that the degree position will be able to fit anywhere in the code. When the button attached to pin 0 is pressed, the motor will change from 360 degree position to 0 degree position, or vice-versa, depending on where the motor was when the button was pressed. a cross is displayed on the LEDs when the button is not being pressed, If the motor is in the 360 degree position, the LED in pin 2 will be lit, if not, the LED is turned off.
When the code starts, the motor is turned to the 360 degree position, so that the code will be able to function. The code then sets a variable "pear" to the degree position, so that the degree position will be able to fit anywhere in the code. When the button attached to pin 0 is pressed, the motor will change from 360 degree position to 0 degree position, or vice-versa, depending on where the motor was when the button was pressed. a cross is displayed on the LEDs when the button is not being pressed, If the motor is in the 360 degree position, the LED in pin 2 will be lit, if not, the LED is turned off.
Final mini project
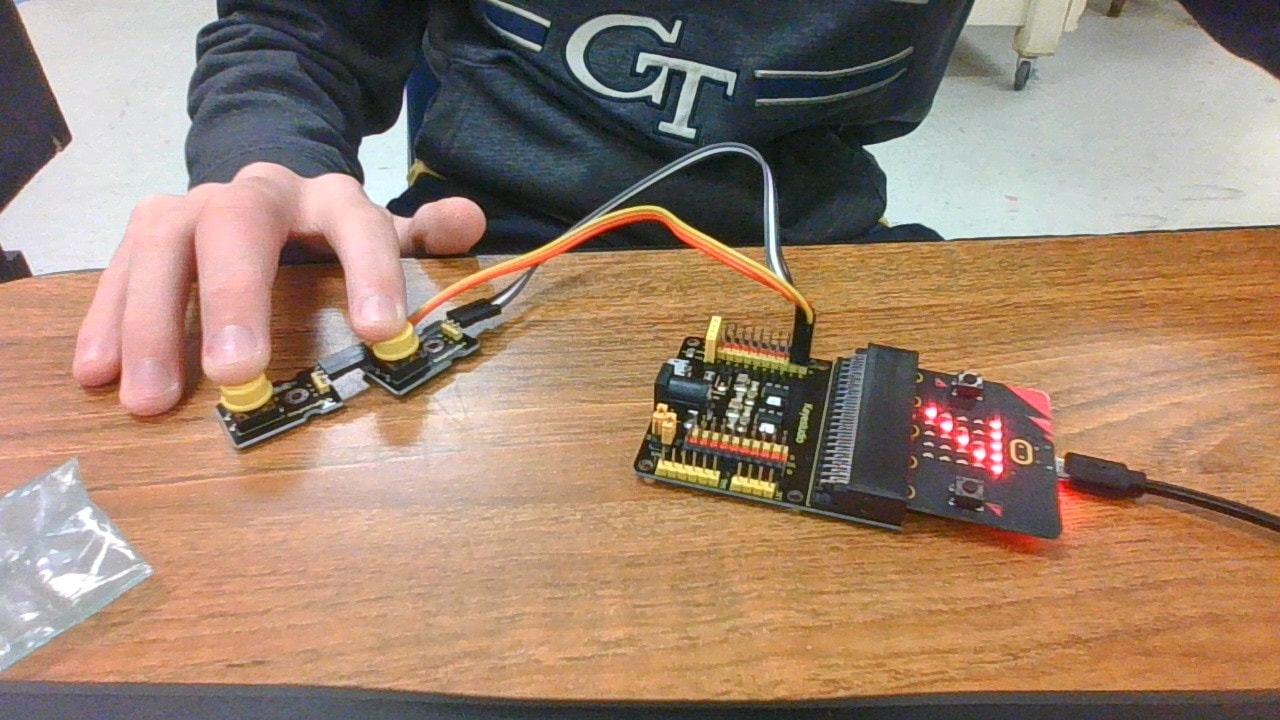
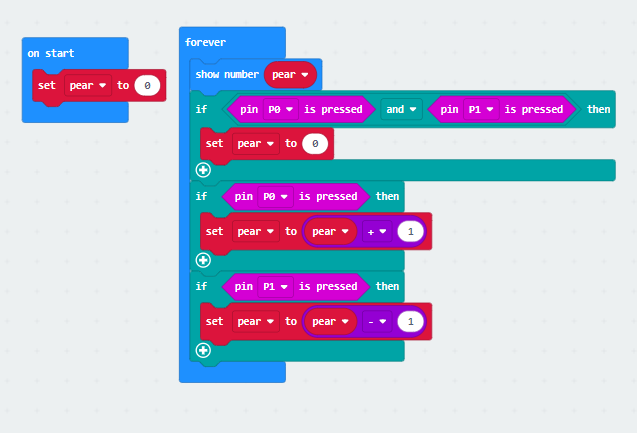
For this project I designed a simple counting machine from a microbit. The microbit started by displaying 0 on its LEDs. If you pressed the first button, the microbit would display a number one greater than the number it was on when the button was pressed. If the other button is pressed, the LEDS will display a number one less than the value it was on when the button was pressed. If both buttons are pressed at the same time, the count is reset to zero. This was simple and took about a day and a half to make. I attempted to add a motor that rotated to the position that the number was, but was unsuccessful for two days, and I decided I was not going to be able to make it work in the time I had avaliable.
